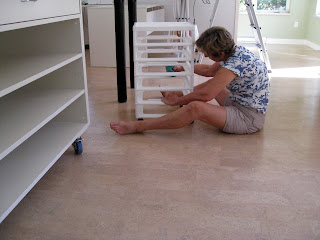
The studio is ready to be 'loaded up.'
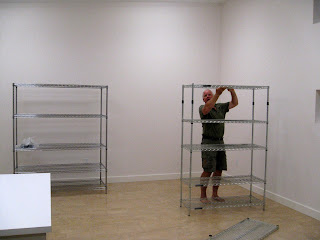
The first step is to assemble the shelving, but I need to also have the stuff to go on each shelf ready to show where to place each shelf, working from the bottom up. This procedure makes the most of the shelving space.
We took the furniture from the old studio that I wanted to continue using out to the new studio.
Good friends JP and Caroline McCartin came to stay for the week and we put them to work. They willingly made all of the trips between the old and the new to move all of the containers and furniture.
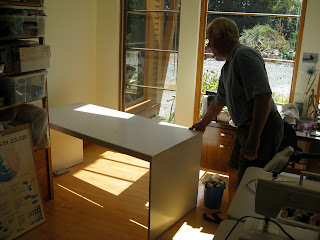
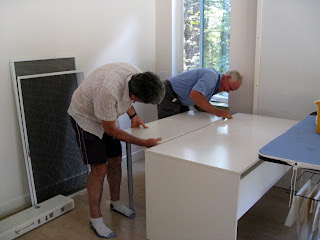
Ron and JP leveled off table tops...
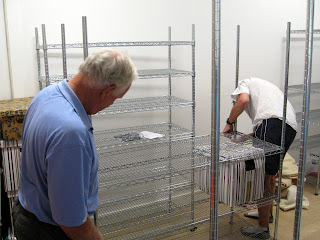
...and assembled shelving while I loaded them up.
Caroline got into the cleaning...
... getting into spots I couldn't reach.
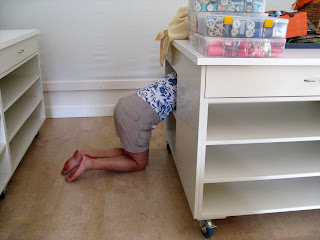
Caroline pulling herself out of the fabric-roll storage.
Caroline cleaning my bead storage unit.
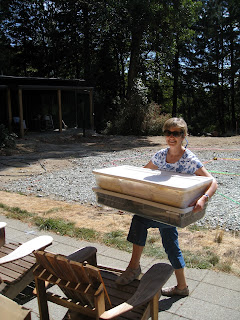
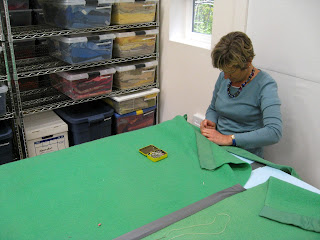
Caroline and I spent the afternoon making a print table board - a two person job for one this size. First we joined two pieces of closed cell insulation board with duct tape then trimmed the board to 8' x 4', the size of the table. We taped on a sheet of cardboard from the steel shelving packaging to give the insulation some strength. This was wrapped in a king-sized wool blanket trimmed and sewn to make a snug fit. The final layer was a wrap of heavy plastic. I am very excited about being able to print to this size.
Big thanks to Caroline and JP for working so hard at transforming an empty space into something looking more like a studio.
