Studio Construction: Design-Inspiration-Photography Walls
- ravenmade
- Aug 24, 2015
- 1 min read
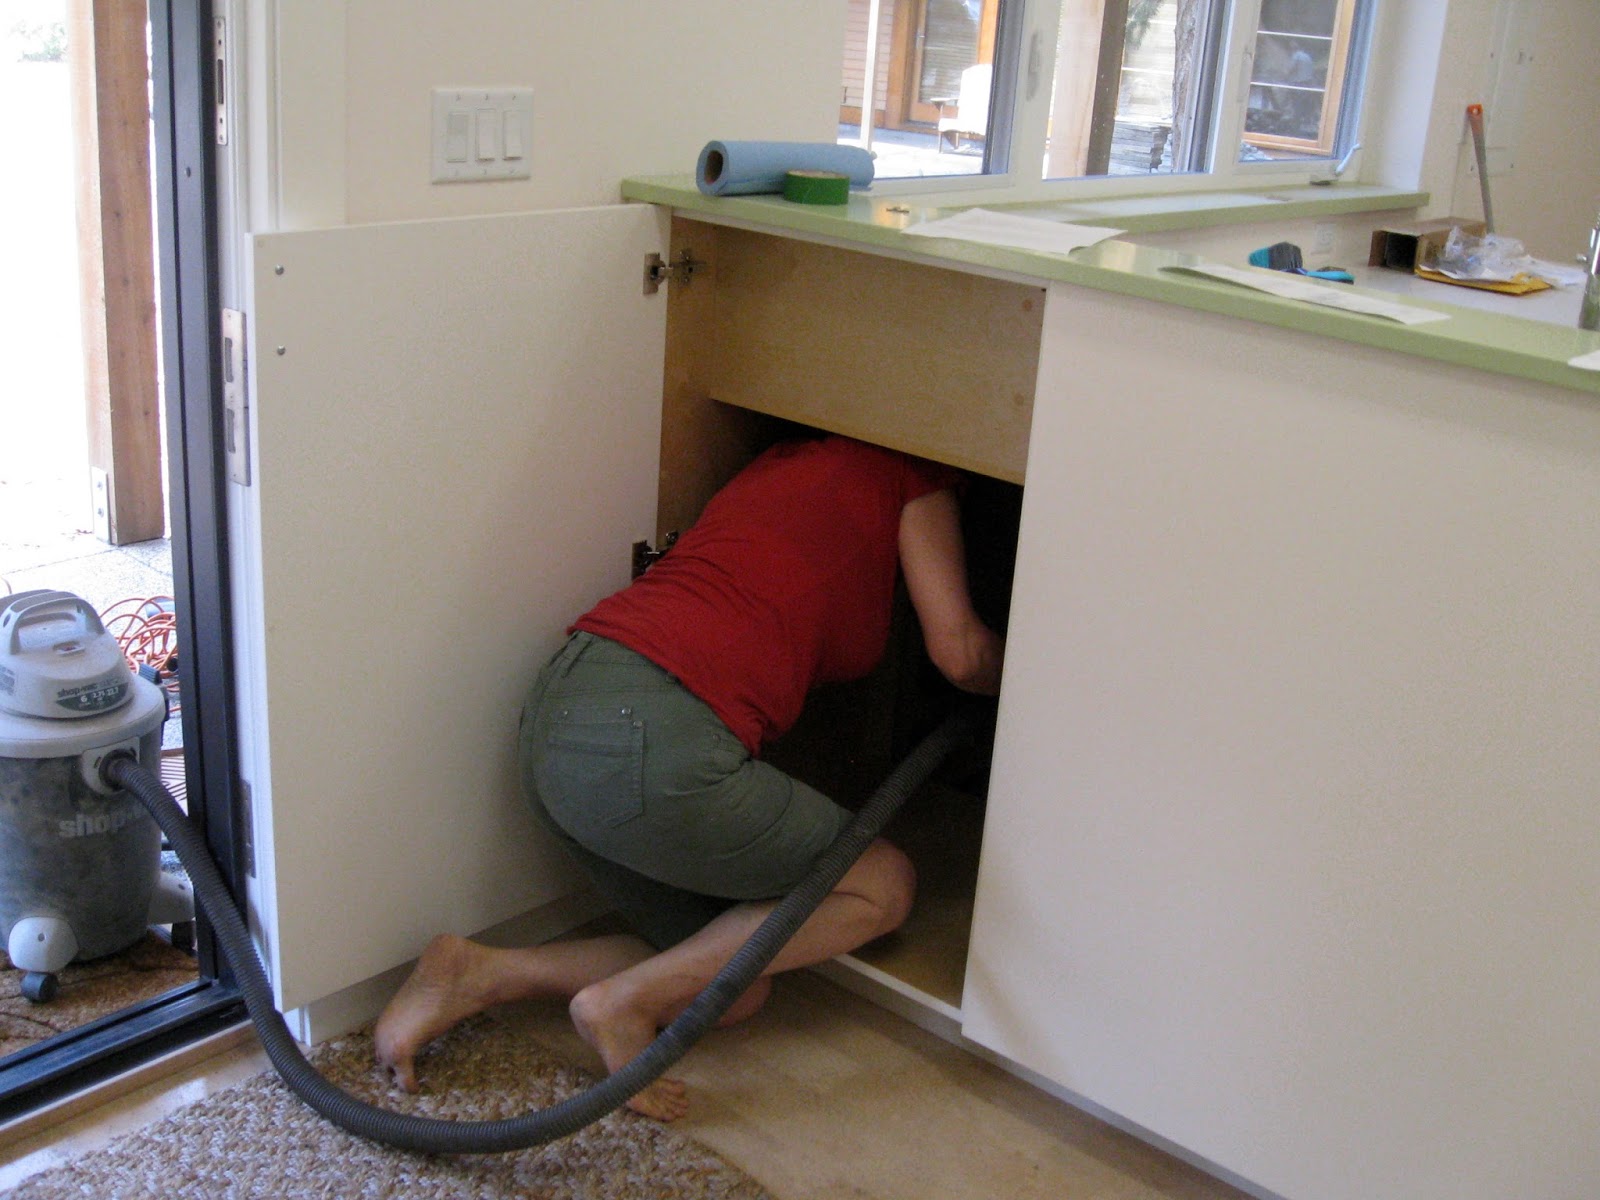
With just a few more things to do in the studio I started the serious cleaning up of construction dust.
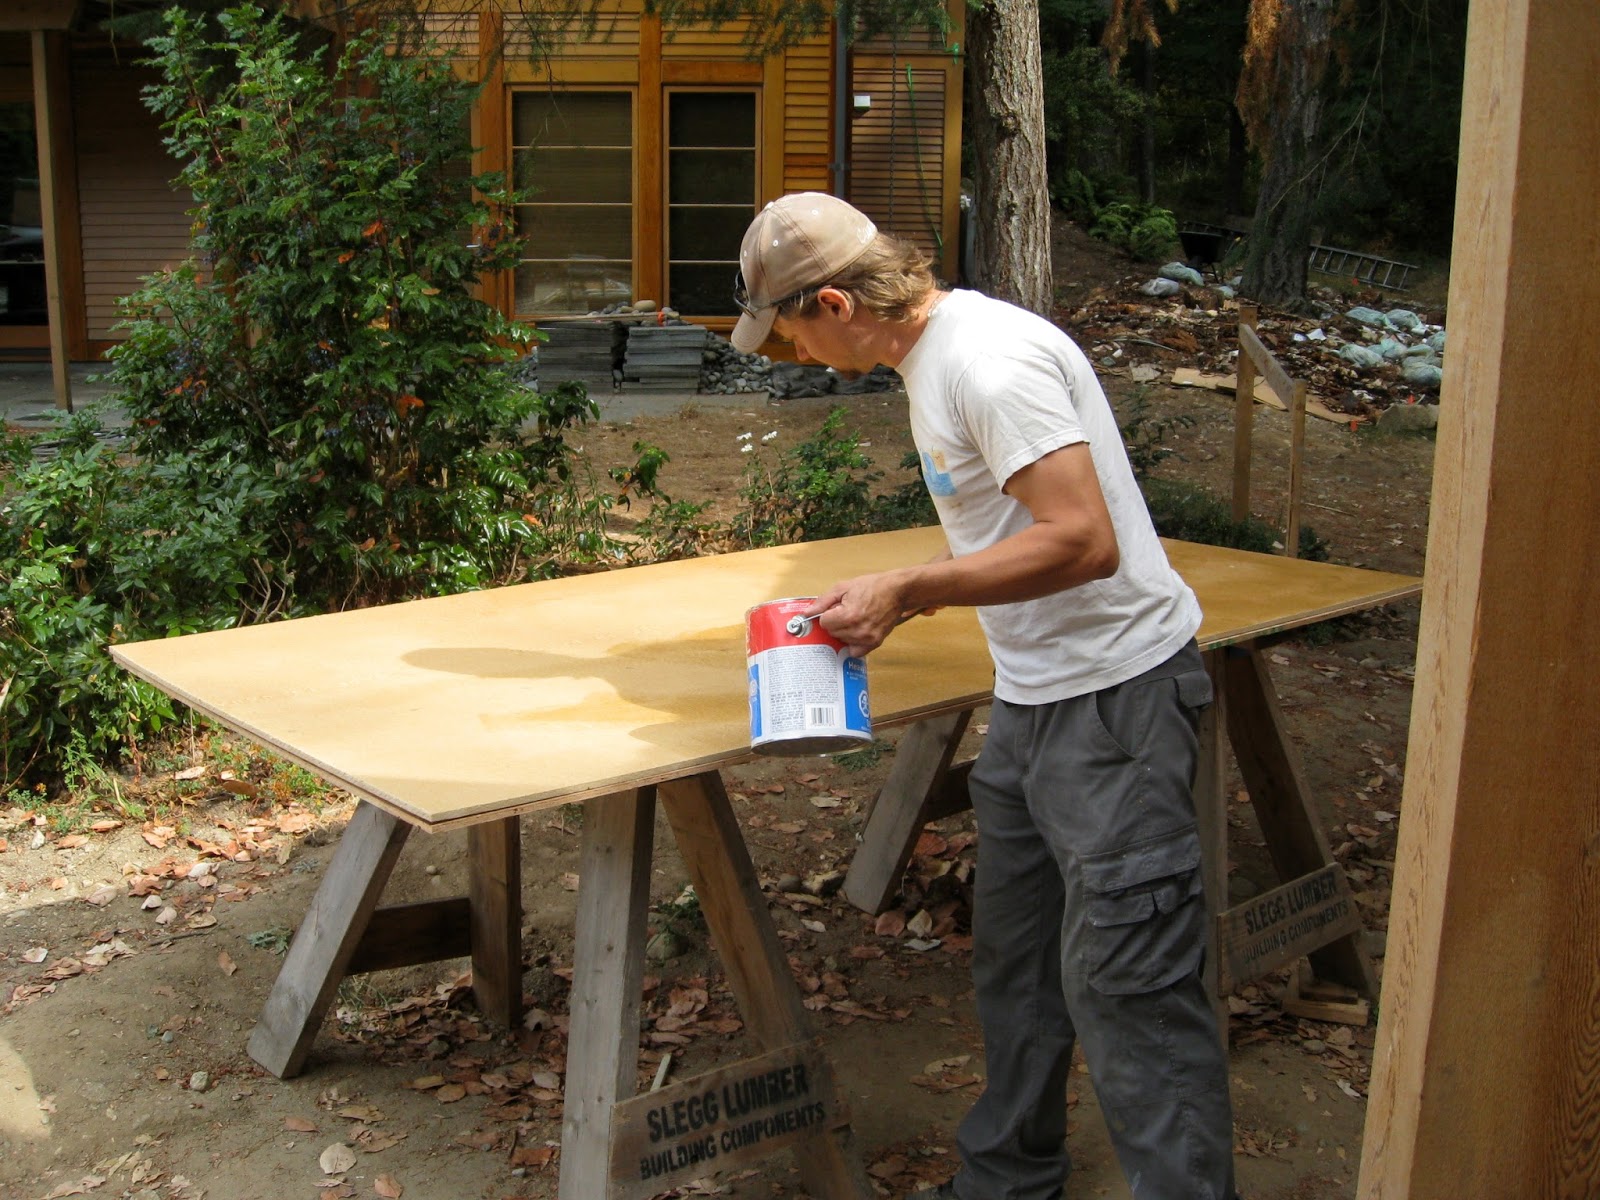
Mike is preparing the base for the design wall - fibre board and cork...
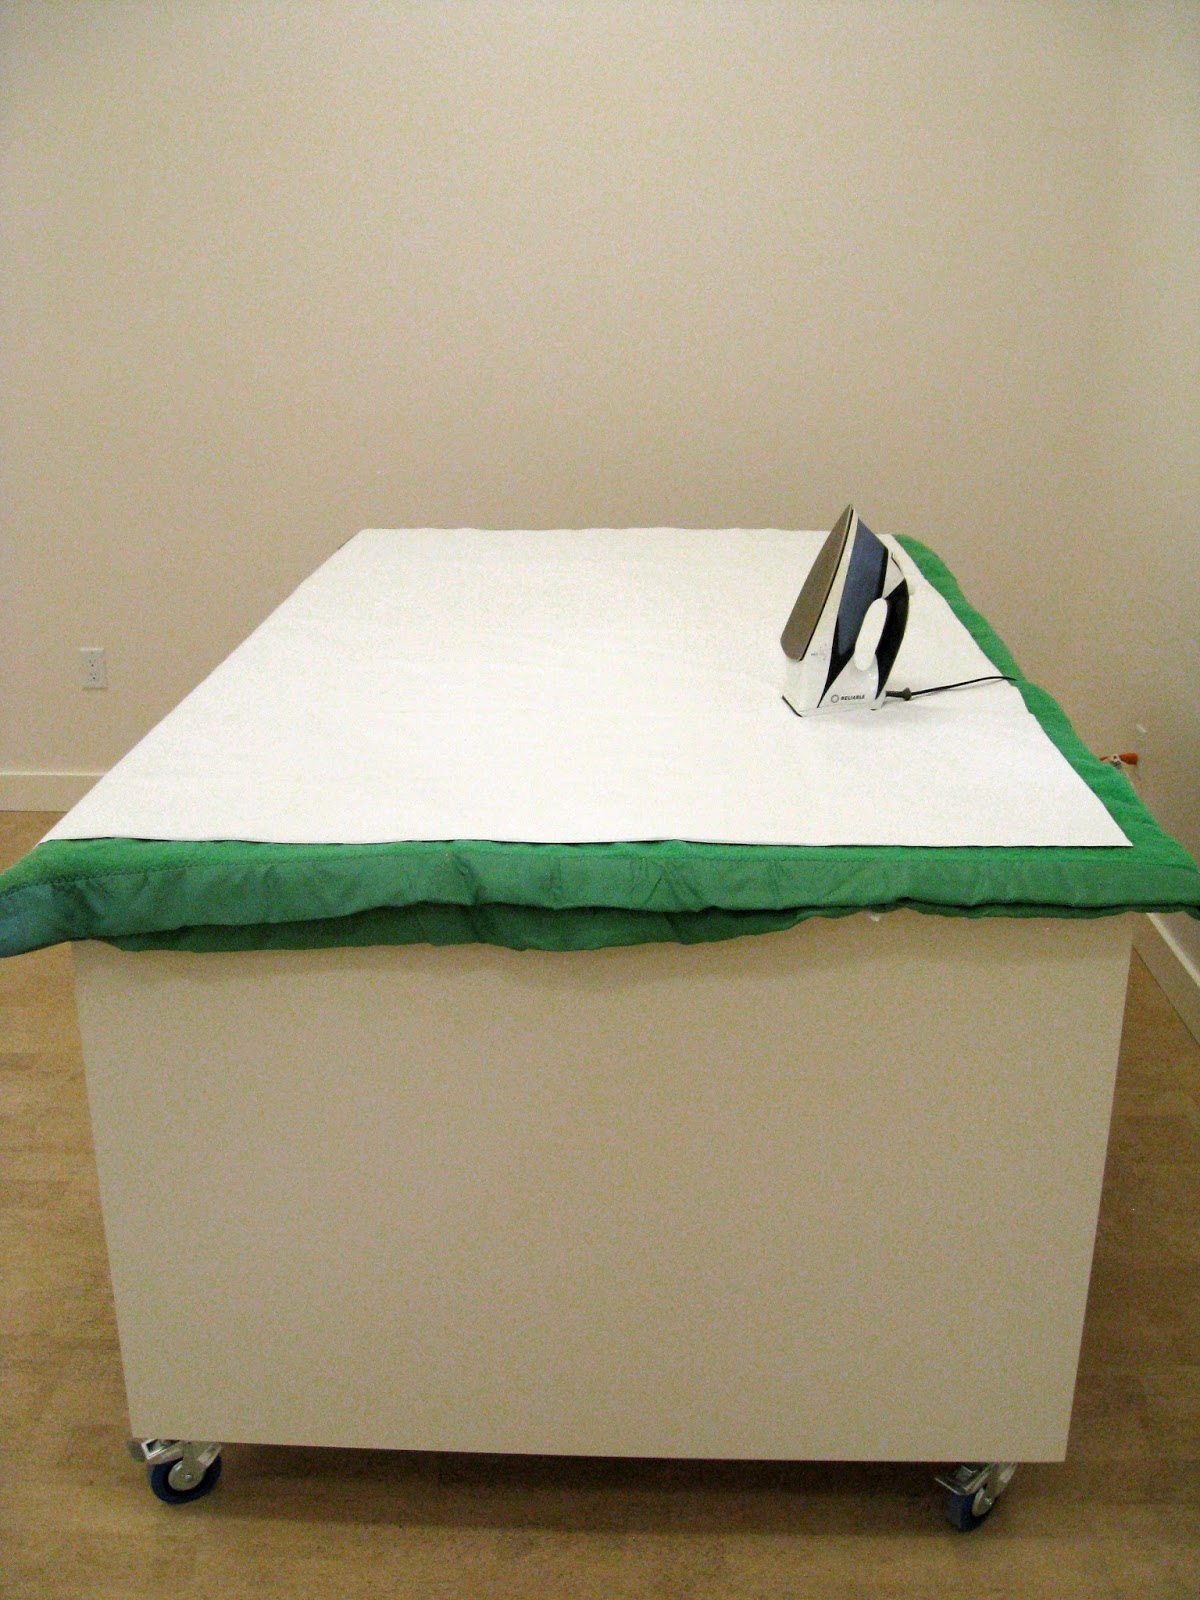
...with a layer of blackout curtain material added on top. The rubberised coating does an excellent job holding the pins.
I steamed out the wrinkles before it was attached to the wall.
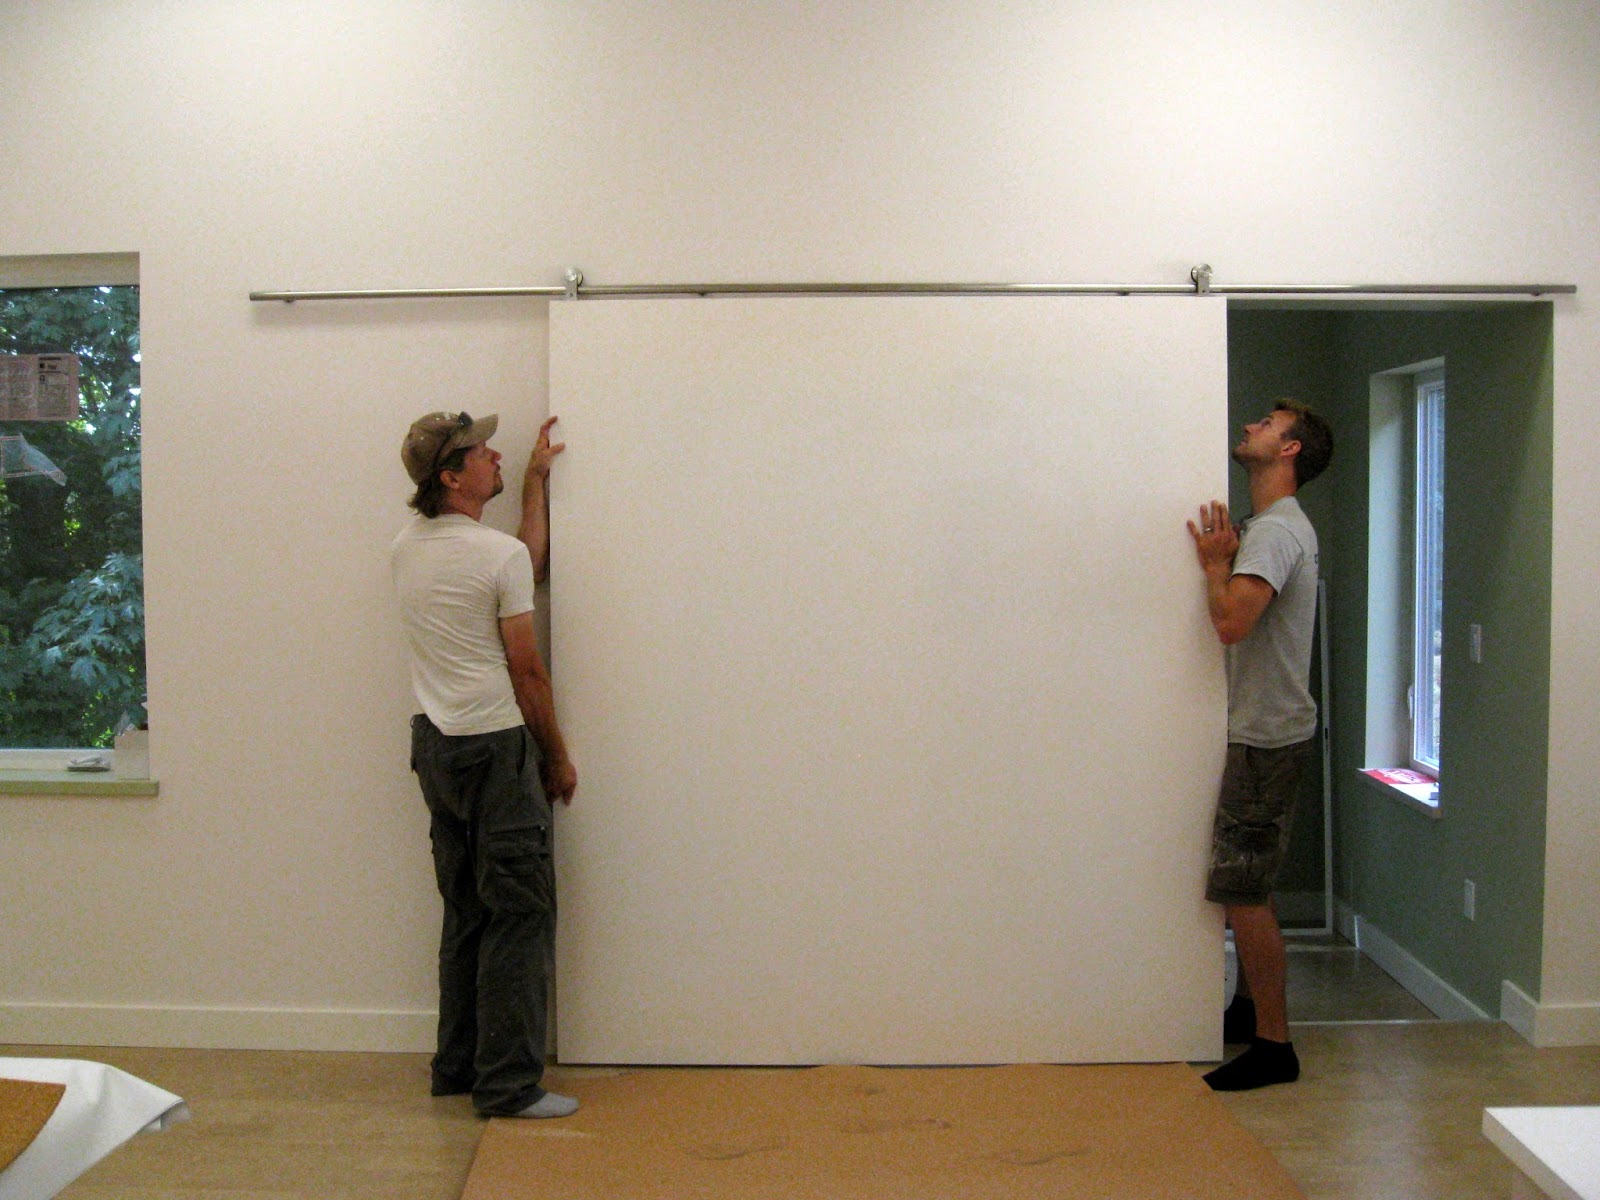
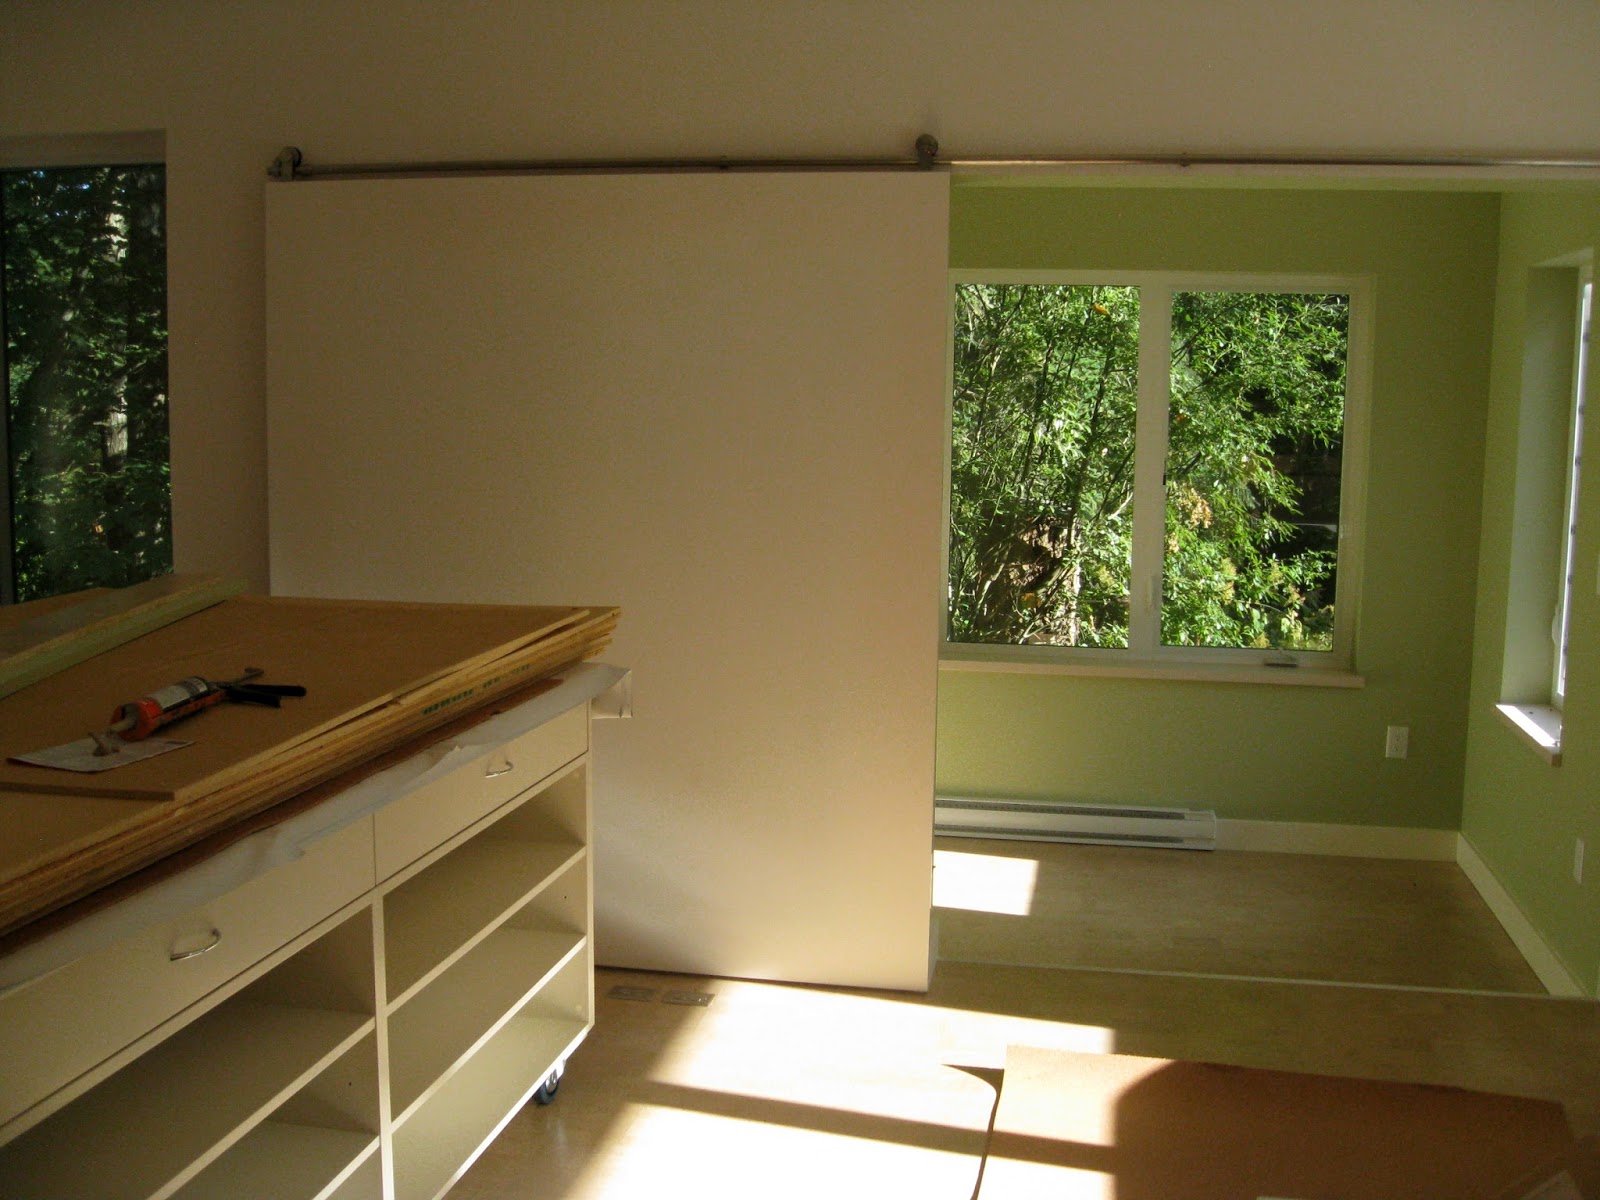
The sliding door is put on a barn door railing.
I
In this position, it will be used as an inspiration board. It is next to the sewing station where I can pin up samples to see what they look like when placed vertically and from a distance.
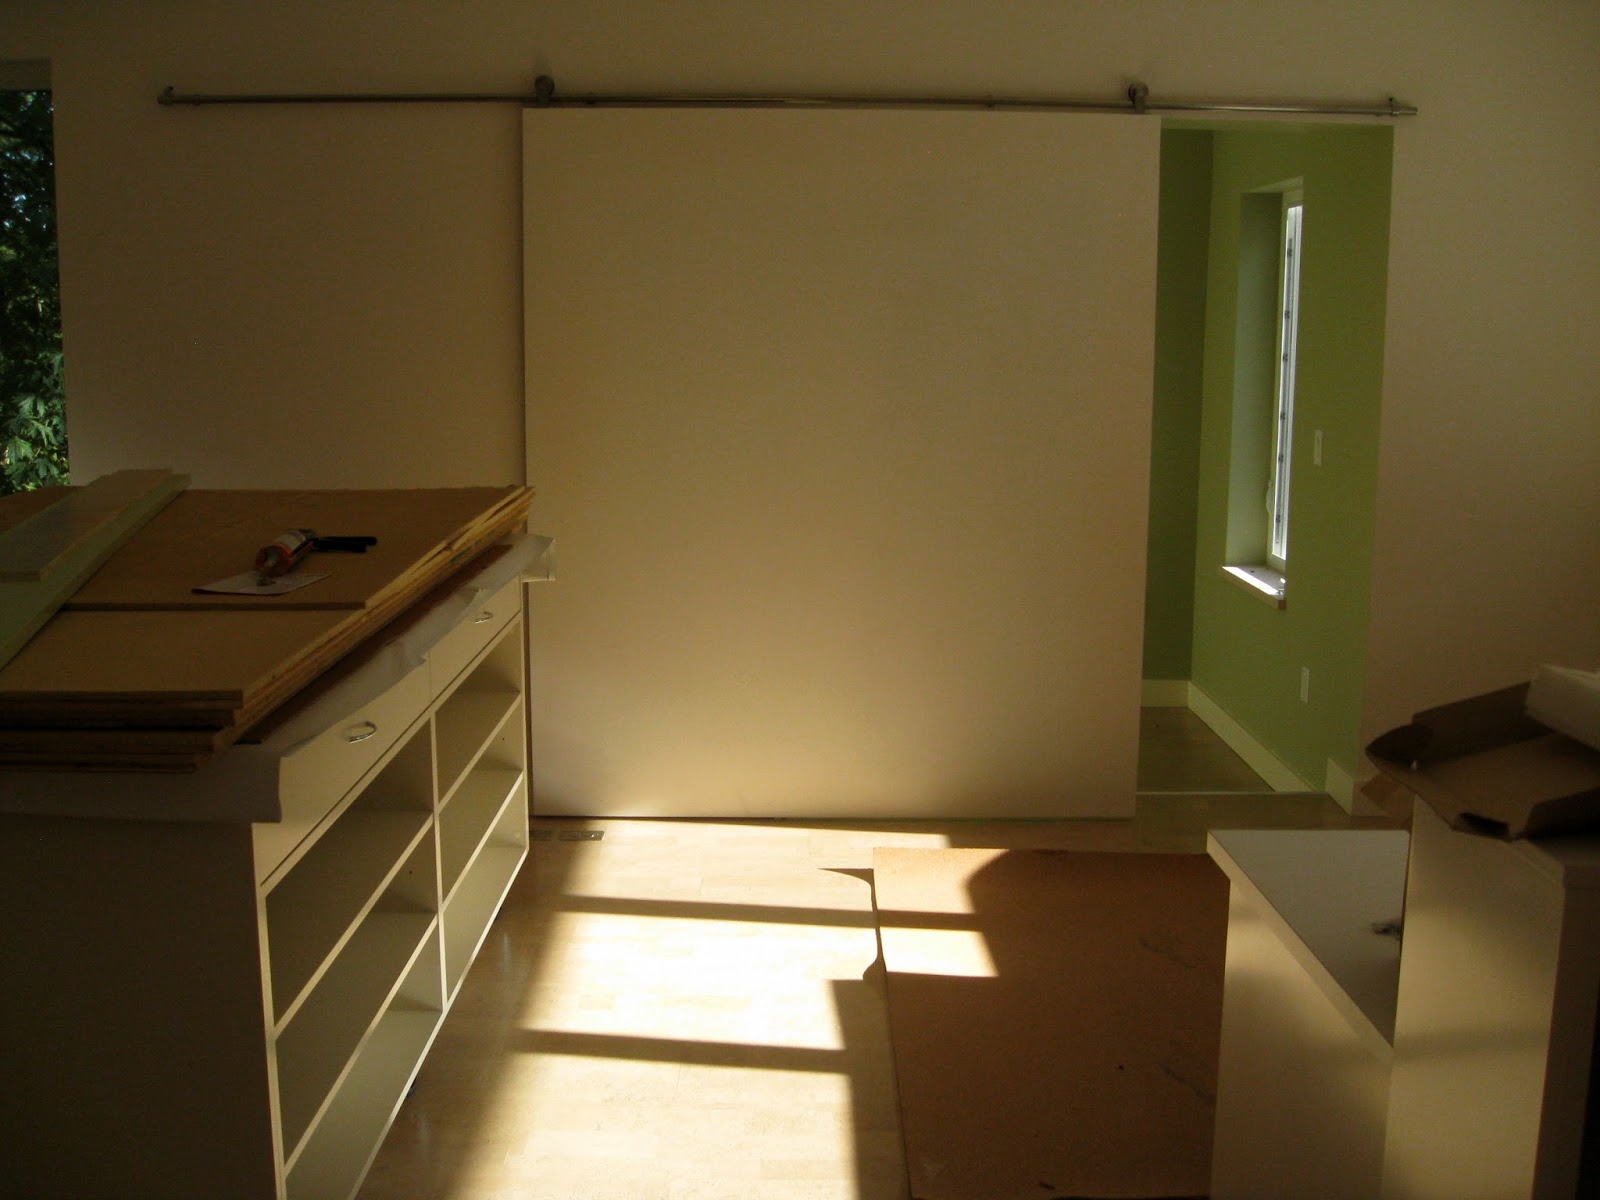
When the door is in this position it becomes my photography wall where I can document works in progress. I can step way back between the furniture to check on the work from different distances.
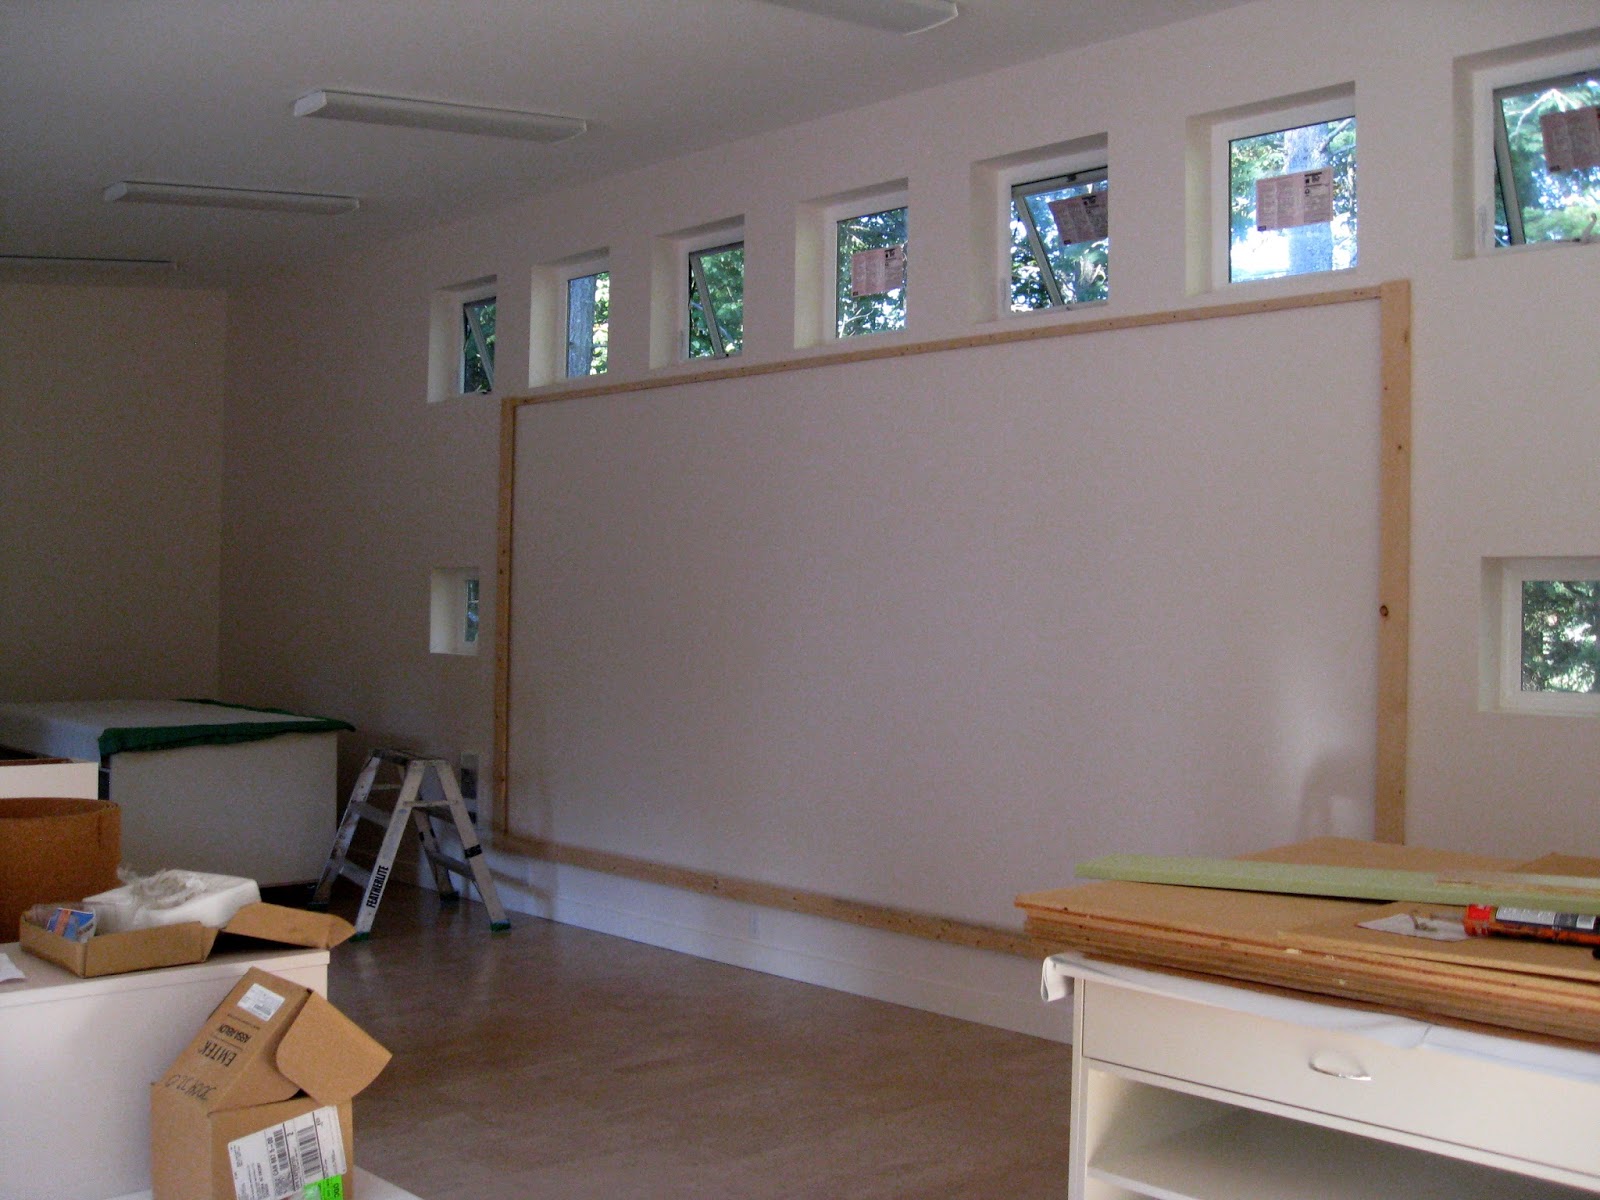
Here is the design wall before the blackout cloth is attached. The wooden frame is screwed in place so it can be taken off easily when I need to replace the worn out blackout cloth. I have had my current design wall in use for 6 years and it is not showing any signs of failure. But I am designing for 25 to 30 years of use before anything inside or outside the studio needs to be replaced. Fittings, fixtures and materials have been placed so they can be easily replaced without having to a major reno of anything else.
Comments