Studio Construction: Flooring Preparation
- ravenmade
- Jul 24, 2015
- 1 min read
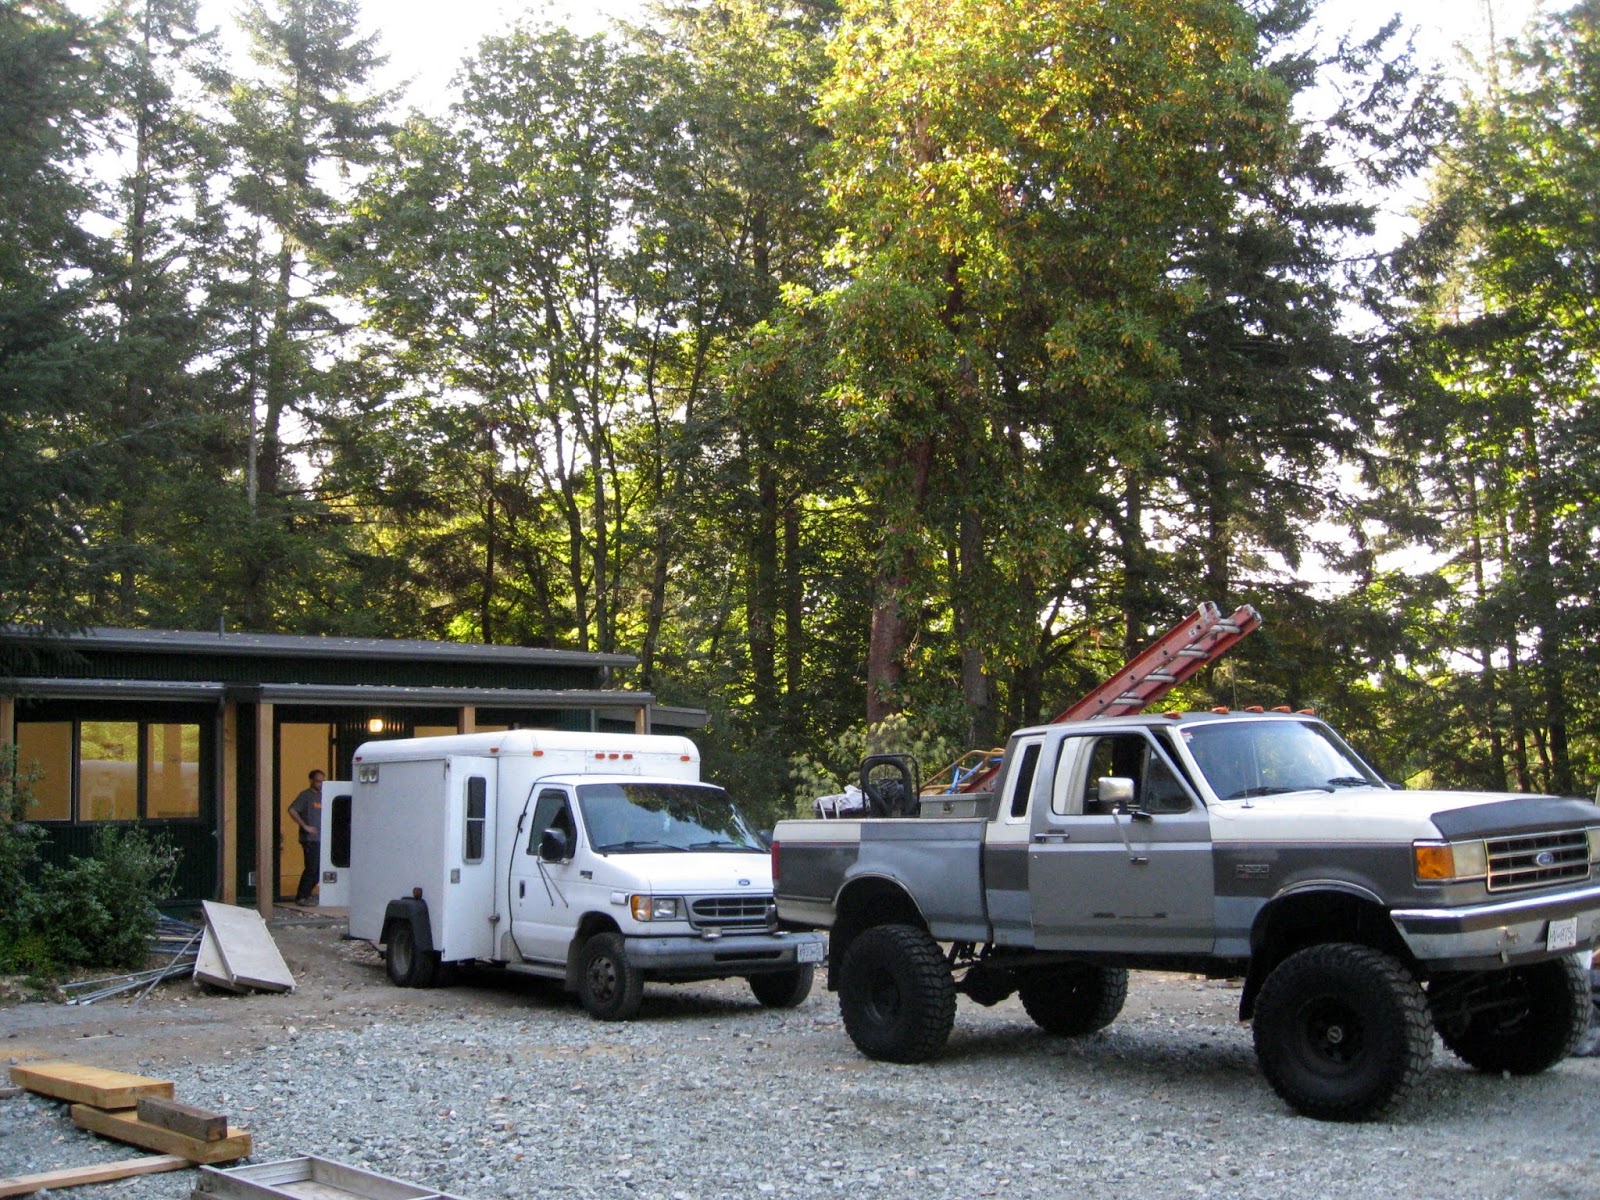
I see Adrian's truck. That means he may be here to install the flooring. The other mean looking truck belongs to Chris, Adrian's assistant.
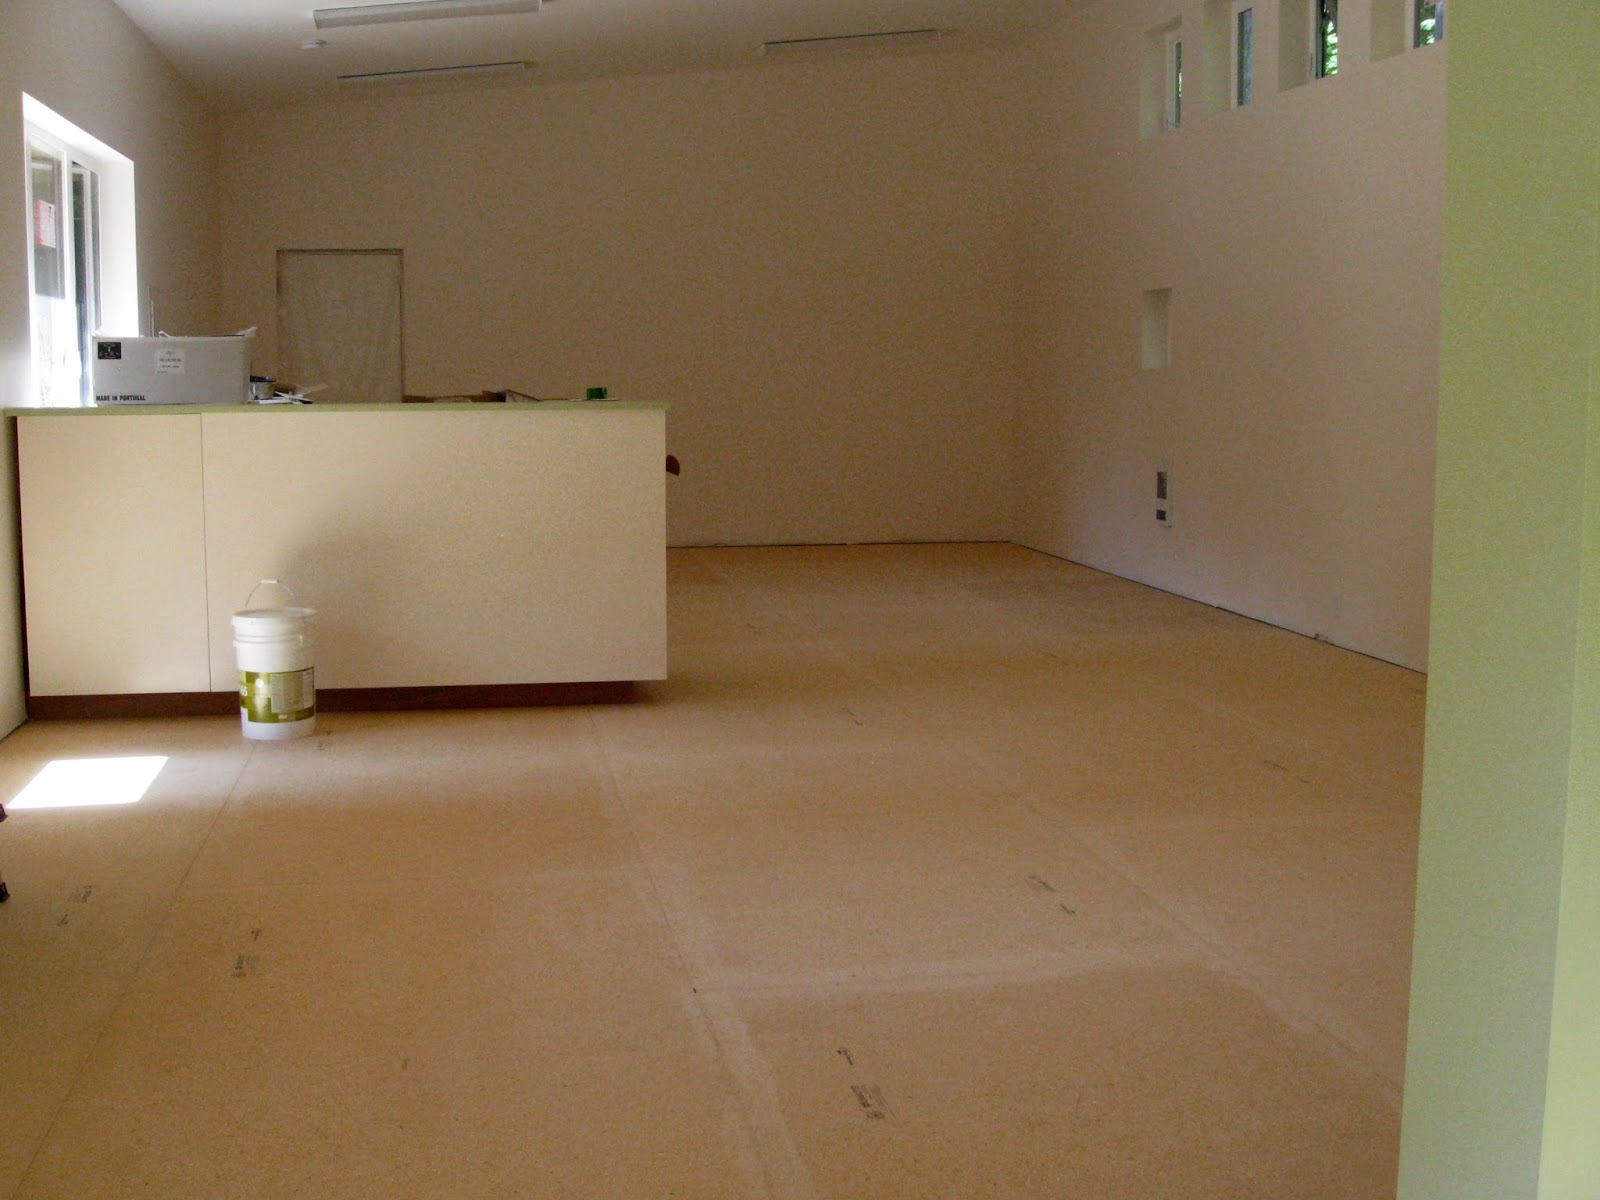
Adrian tested the humidity levels in the floor and they are acceptable - whipeee!
He removed all staples, lumps of glue and filler in the plywood before vacuuming it all thoroughly. Next he sanded all of the joints smooth.
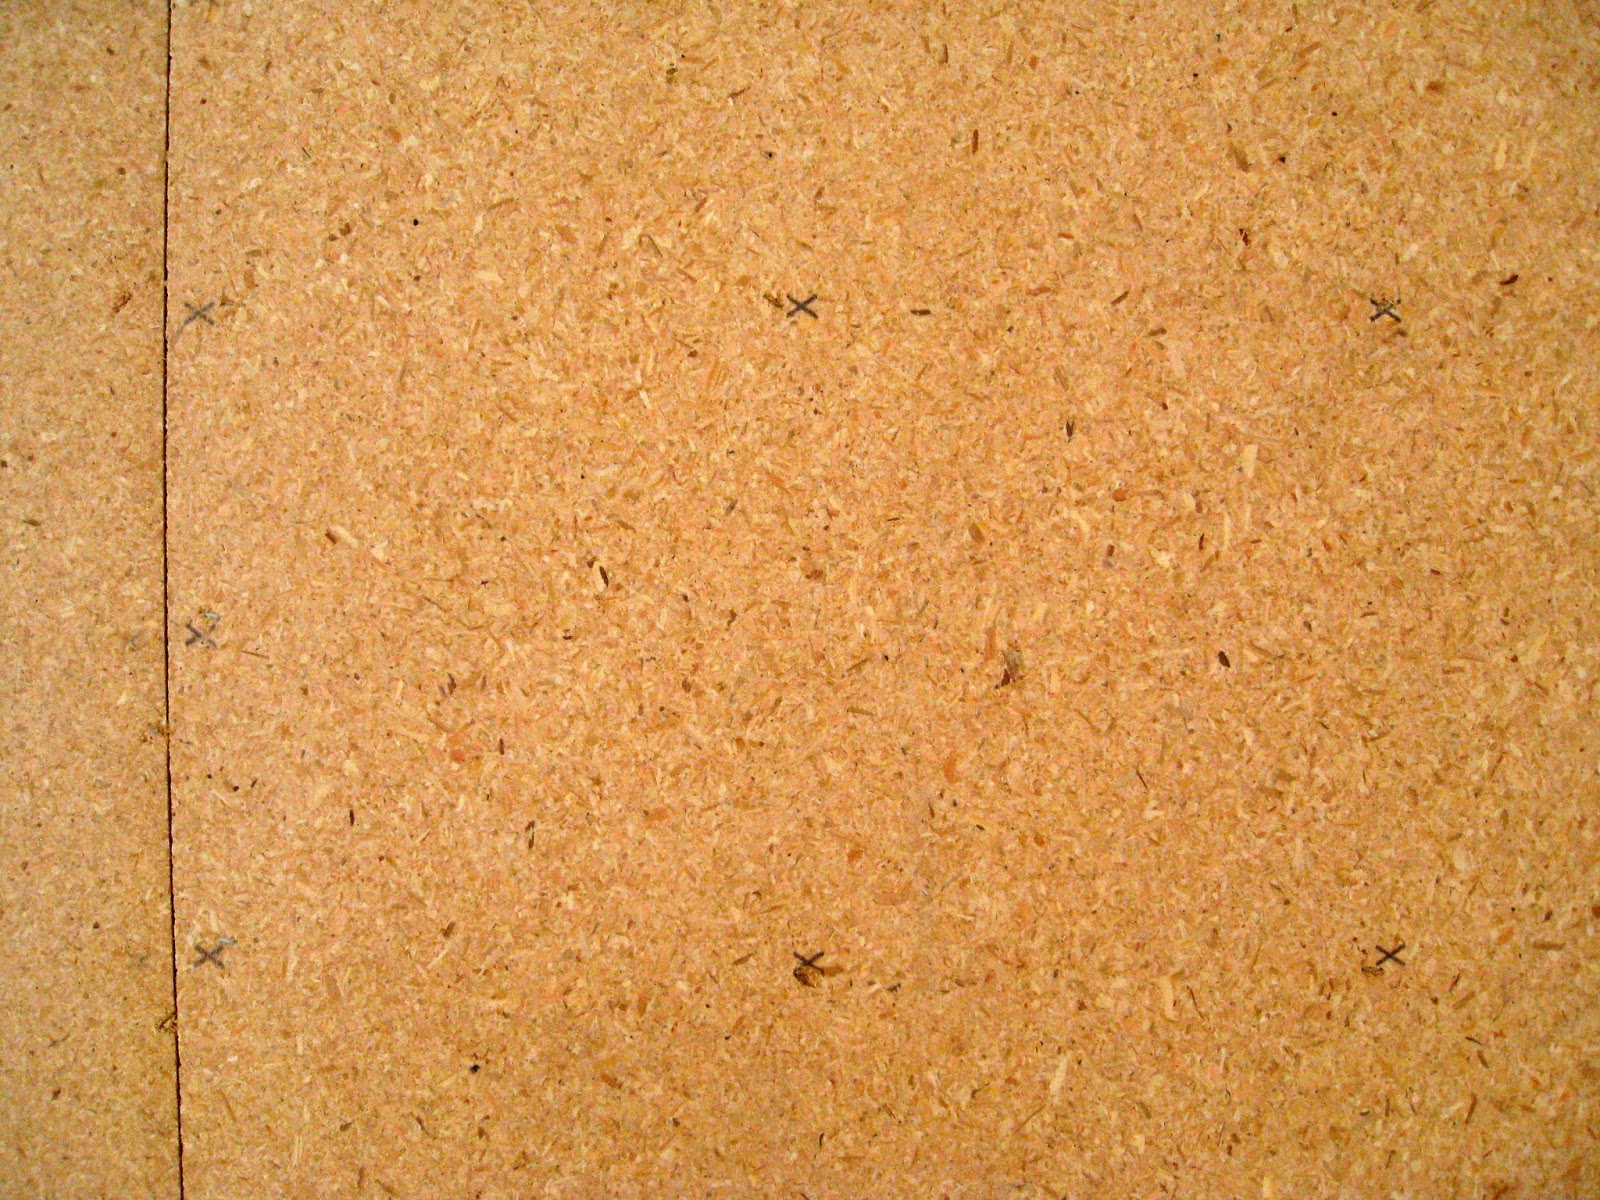
Next step was to lay down the underlay and nail it every foot or so.The underlay is printed with a regular pattern of crosses (hard to see) to indicate where the nails are to go.

All of the underlay joints are filled with a Portland cement-based underlay patching material. Chris is sanding the dried cement to make the underlay perfectly smooth. Then the floor is vacuumed thoroughly again.
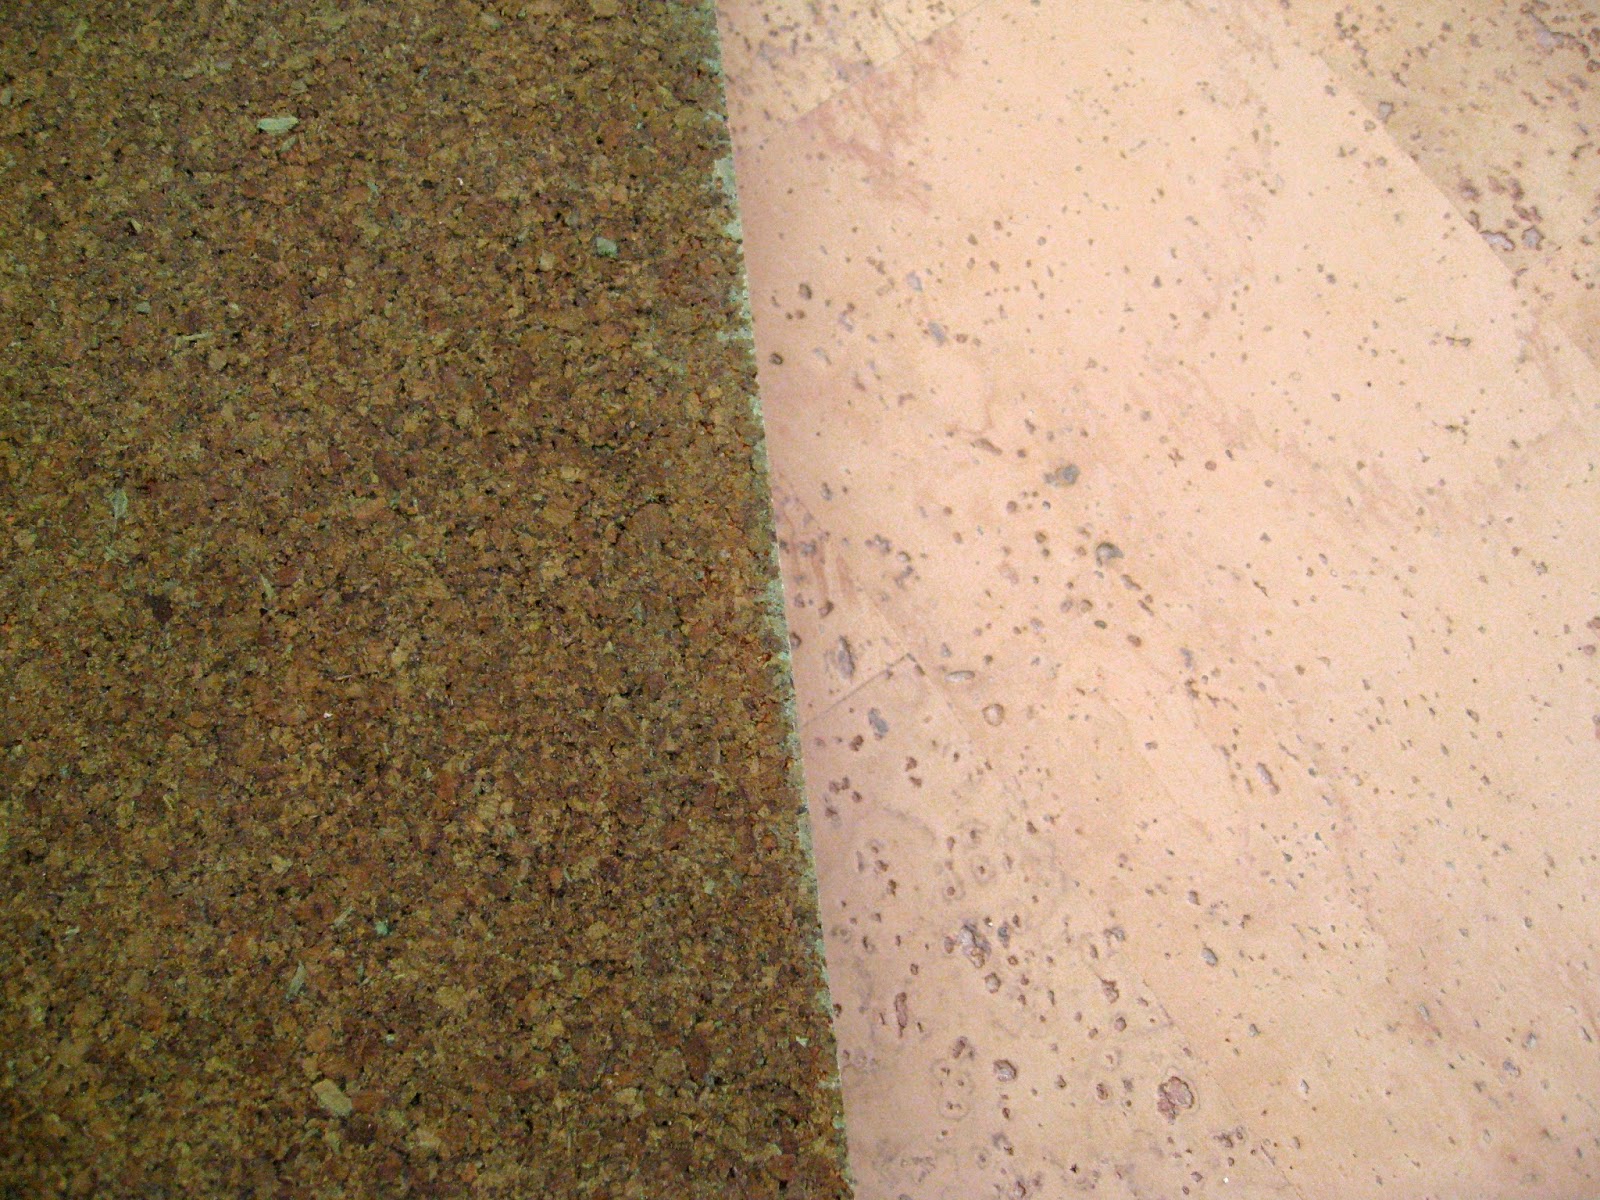
The underside of the tiles (left side) has a dry green coloured contact cement that was applied in the factory. The right side shows the tile.
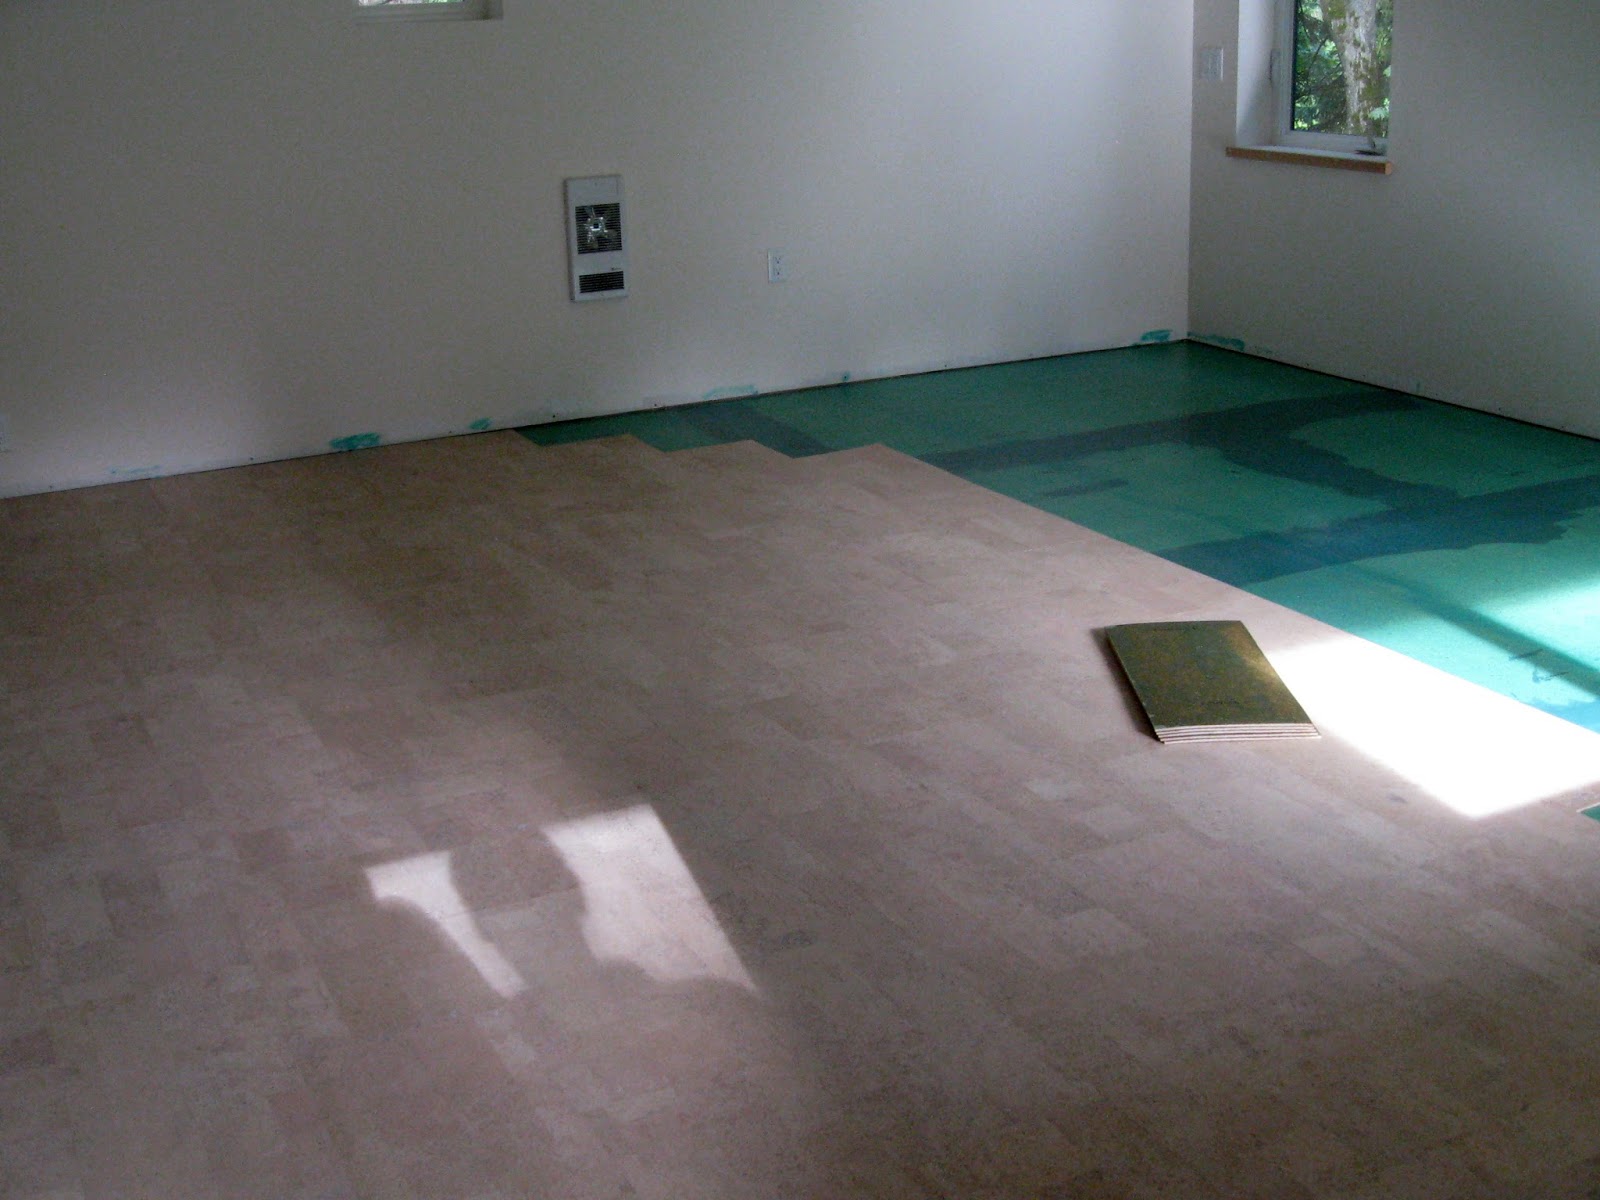
Next step, a thin layer of the green adhesive is rolled onto the subfloor and left to dry. Then the tiles are laid down. Pressure applied to the tile activates the adhesive to make it stick.
A good day's work.
Comments